Little Known Questions About Drywall Repair Austin Tx.
Table of ContentsExcitement About Drywall Repair Austin TxGetting My Drywall Repair Austin Tx To WorkThe Single Strategy To Use For Drywall Repair Austin TxAll About Drywall Repair Austin TxAbout Drywall Repair Austin TxExcitement About Drywall Repair Austin Tx
Contact us today for a totally free estimate.My grocery listing puts it to shame and also is much a lot more costly (and also that's without acquiring Dogfish Head IPA beer). Allow's get started and also remove your split drywall One of the greatest errors anyone can make is to simply add joint compound or spackling to the drywall split.
To do this, you'll have to scoop some of the Spot Plus Primer right into a mud pan to use the bigger blade. Add the spackling by starting in the center of the tape. Spread out the spackling on the tape in a descending movement from the. Then return as well as add the remainder of the spackling relocating upwards from the center of the tape.
More About Drywall Repair Austin Tx
Then ravel the spackling with your 6 inch drywall knife like you carried out in Step 2 (constantly starting in the center and also approaching completions). The essential pointer I have below is to. This pressure adjustment will feather the Patch And also Guide as well as mix it into the existing drywall.
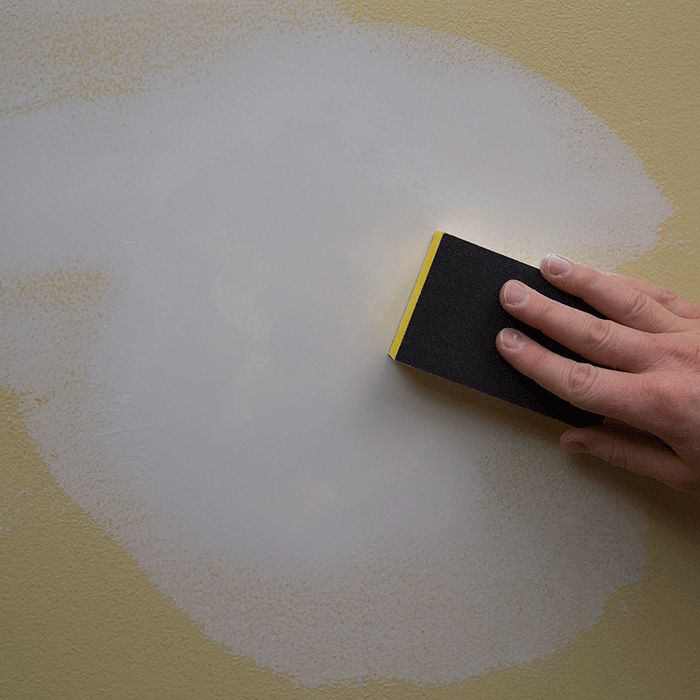
For tiny drywall repair work tasks I such as to make use of a great grit fining sand sponge to feather the edges of spackling or joint compound. Circular movements will certainly aid blend the patch right into the drywall.
These methods will vary based on how large of a location needing to be repaired, but rest assured it CAN BE DONE! After we have actually covered the 4 opening kinds, we'll go over sanding, structure, as well as paint, so make sure to read to the end of the message!
The Main Principles Of Drywall Repair Austin Tx
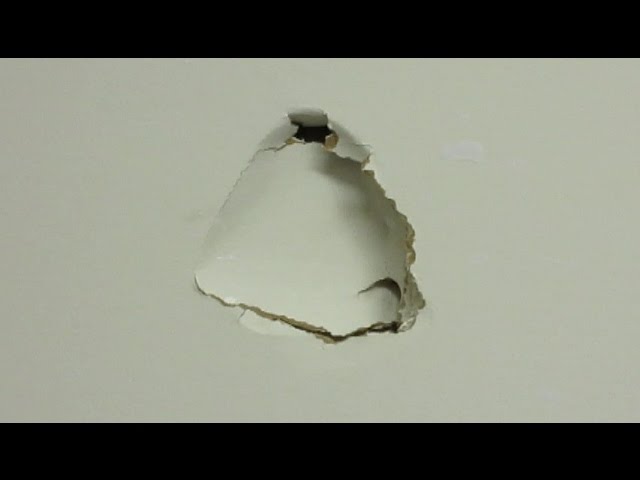
Utilize a putty knife to complete that opening with mud. You wish to be charitable in pressing the mud into the opening to make it great as well as strong when it dries out. There may be some gurgling on your initial coat, which is great. Simply cover the opening as best you can and also allow it dry.
There are a few methods to fix this kind of hole. The initial one is to utilize a mesh adhesive patch. Tidy up the edges of the opening using an energy blade- make sure any loosened or damaged items of drywall are removed, and after that use the spot. Smooth out the spot as best you can to ensure Read More Here there are no folds or creases.
You're mosting likely to be pushing a whole lot of mud into the area that has the hole. This will certainly rebuild the drywall that's missing out on. This is what it resembles from the back- Play-doh fun manufacturing facility! Continue to cover the spot with the mud, trying to obtain the location as smooth as you can.
The 2nd option with this dimension opening is to utilize a Presto Spot. The Presto Spot is a 4 circle of 1/2 drywall, and it's obtained a section of paper that is made use of to mix it right into the bordering drywall. Use the styrofoam design template that comes in the set. Trace around the theme, and also reduced the opening with your energy blade.
All About Drywall Repair Austin Tx
Pay unique attention to the top of the plug, where gravity makes it challenging for the mud to stay on the drywall opening. Make certain to obtain lots of mud on the top! Push the plug in, and afterwards use the putty blade to pull from the center exterior to smooth the mud out from under the paper, as well as spread it back around the top of the paper to make it good and smooth to match the shape of the wall.
You'll intend to cover it enough that absolutely nothing is revealing with, but not a lot that it takes forever to completely dry. The third alternative is to make a The golden state patch, which is basically making your own presto spot. Cut a square or rectangle around the broken area, ensuring to reduce away any harmed drywall.
Cut a piece of drywall that's 1 1/2 larger on all sides than your square or rectangle. If your hole is 5x5, you'll want more helpful hints to reduce a piece of drywall why not try this out that's 8x8. When you have the piece, hold it approximately the hole and also mark the hole size on the rear end.
From there, snap off the edge items, and also peel the drywall from the paper as well as you'll finish up with the plug. From there, the strategy is the exact same as the Presto Spot as much as mudding goes.
Not known Factual Statements About Drywall Repair Austin Tx
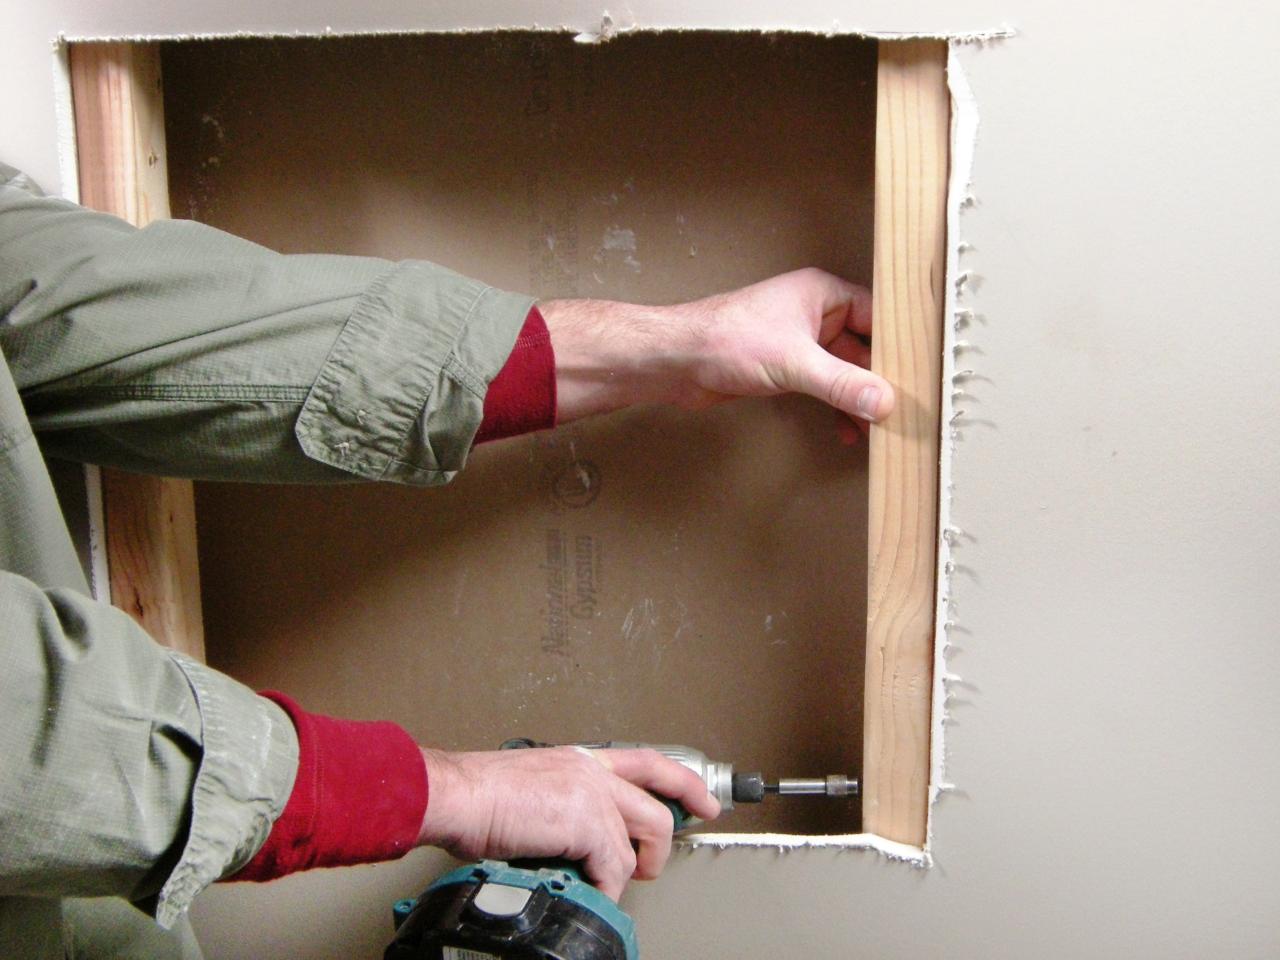
You can utilize any type of scraps of timber you have existing around, like trim or 1x want. Suffice so it prolongs a pair of inches past the hole on either side. The goal is to create four edges to sustain the drywall plug. Usage screws to safeguard the timber right into the drywall.
Cut a piece of drywall to fit your hole and screw it in. The key is having the assistance in back, and also reducing out all of the damaged drywall.
This is for truly large areas that have actually been harmed- perhaps somebody was body checked out the wall surface or something like that. The ideal method to fix this is to eliminate the piece from stud to stud. You'll need a stud finder to locate exactly where the studs are.
Come by concerning 3/4 from the inside of the stud and get rid of the drywall. You wish to have a room on the stud for the brand-new drywall to fasten onto. From there, reduced a piece of drywall to fit inside the opening, drive it in with screws into the studs, and afterwards you can either do the California patch, or you can utilize mesh tape.
The 15-Second Trick For Drywall Repair Austin Tx
Use the side of your putty blade to tear the tape (it's simple). As soon as your tape is on, apply mud to the tape and also push it right into the seams.
Make sure to use a mask or respirator to protect your lungs from every one of the great dust this will certainly kick up. Also use eye defense. For the second coat or skim layer, make use of a larger blade to make a nice smooth surface. Having an excellent blade here makes all the difference.